
PbootCms模板默认的图片裁剪是从左上角开始裁剪,使用width,height,maxwidth,maxheight等参数进行调节。
但是裁剪出来的图片始终感觉不是那么令人满意。(也许是我不会用)
比如多人物合影,PB默认的裁剪是左上,那么这个裁剪就会丢掉C位,那怎么能行。
今天来优化一下裁剪图片,让他能简单快捷的裁剪出理想的图片。
我想要的效果是不论横图竖图都是居中裁剪。
翠花,上干货!
解决方案
首先找到裁剪缩略图的方法,
文件位置:/core/function/file.php
搜索:function cut_img,大约在447行
对cut_img方法进行优化,直接上代码:
// 剪切图片
function cut_img($src_image, $out_image = null, int $new_width = null, int $new_height = null, $img_quality = 90)
{
    // 输出地址
    if (! $out_image)
        $out_image = $src_image;

    // 读取配置文件设置
    if (! $new_width && ! $new_height)
        return;

    // 获取图片属性
    list ($width, $height, $type, $attr) = getimagesize($src_image);
    switch ($type) {
        case 1:
            $img = imagecreatefromgif($src_image);
            break;
        case 2:
            $img = imagecreatefromjpeg($src_image);
            break;
        case 3:
            $img = imagecreatefrompng($src_image);
            break;
    }

    // 不限定是等比例缩放
    if (! $new_width) {
        $new_width = floor($width * ($new_height / $height));
    }
    if (! $new_height) {
        $new_height = floor($height * ($new_width / $width));
    }
    // 创建画布
    $new_img = imagecreatetruecolor($new_width, $new_height);

    // 创建透明画布,避免黑色
    if ($type == 1 || $type == 3) {
        $color = imagecolorallocate($new_img, 255, 255, 255);
        imagefill($new_img, 0, 0, $color);
        imagecolortransparent($new_img, $color);
    }


    // 先缩放
    $scale = max($new_width / $width, $new_height / $height);
    $scale_width = floor($scale * $width);
    $scale_height = floor($scale * $height);
    $scale_img = imagecreatetruecolor($scale_width, $scale_height); // 创建画布
    if(function_exists("ImageCopyResampled")) {
       imagecopyresampled($scale_img, $img, 0, 0, 0, 0, $scale_width, $scale_height, $width, $height);
    } else {
       imagecopyresized($scale_img, $img, 0, 0, 0, 0, $scale_width, $scale_height, $width, $height);
    }
    //再裁剪
    $start_x = ($scale_width - $new_width) / 2;
    $start_y = ($scale_height - $new_height) / 2;

    //拷贝剪切的图像数据到画板,生成剪切图像
    imagecopy($new_img, $scale_img, 0, 0, $start_x, $start_y, $scale_width, $scale_height);

    check_dir(dirname($out_image), true); // 检查输出目录

    switch ($type) {
        case 1:
            imagegif($new_img, $out_image, $img_quality);
            break;
        case 2:
            imagejpeg($new_img, $out_image, $img_quality);
            break;
        case 3:
            imagepng($new_img, $out_image, $img_quality / 10); // $quality参数取值范围0-99 在php 5.1.2之后变更为0-9
            break;
        default:
            imagejpeg($new_img, $out_image, $img_quality);
    }
    imagedestroy($new_img);
    imagedestroy($img);
    return true;
}
小伙伴可以直接复制替换该方法。
使用方法
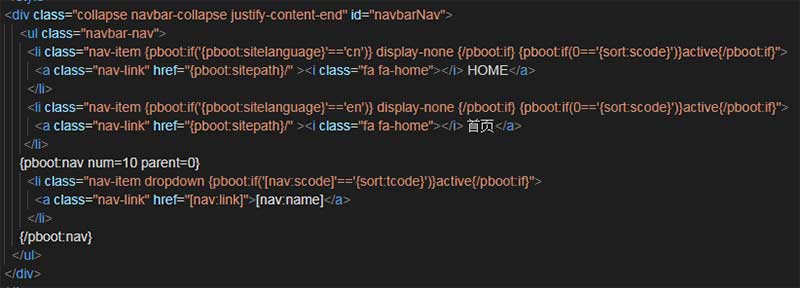
{pboot:list scode=*}
<a href= "[list:link]"><img src="[list:ico width=600 height=400]" /></a>
{/pboot:list}
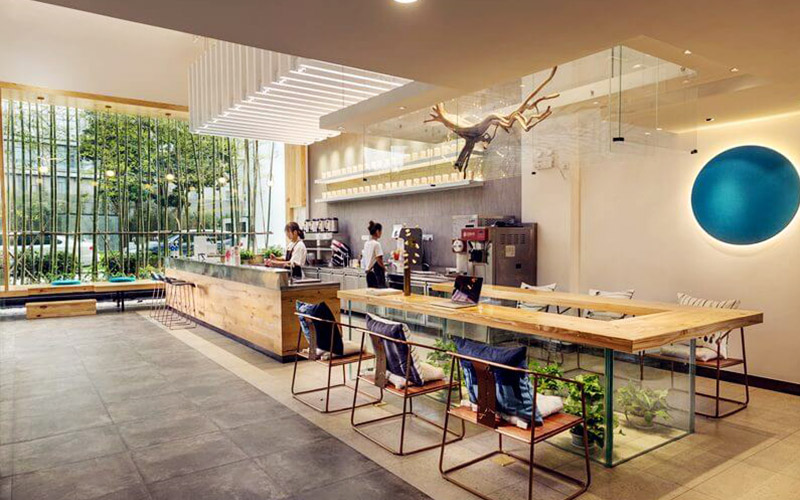
如上代码,直接生成600*400像素的居中裁剪过的图片。
收工。
举个例子:列表中输出图片
THE END